Background

Tuesday, 7 June 2011

Vintage Tag Book - Using Diamond Fold Template

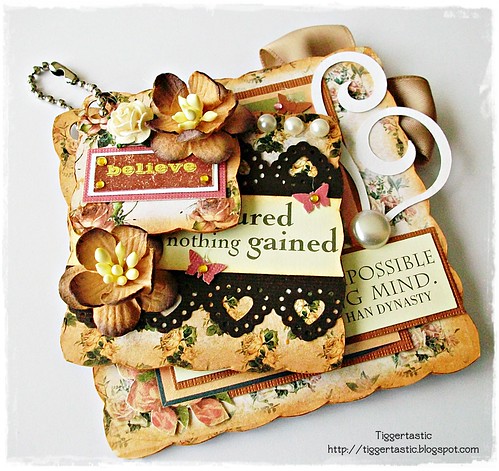
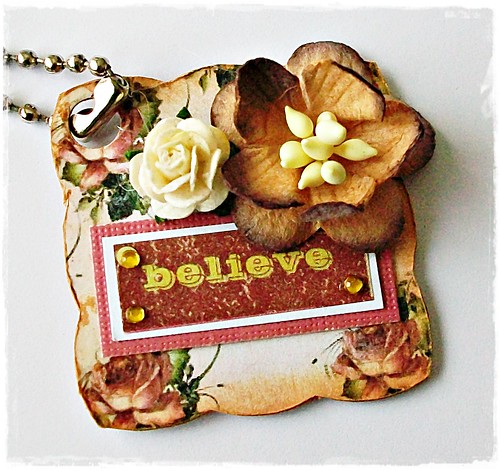
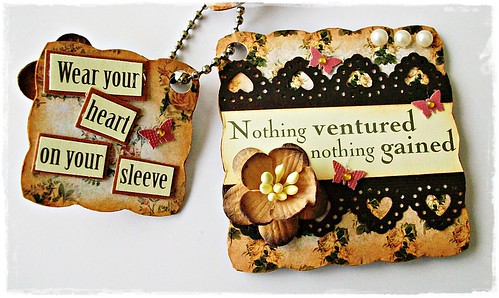
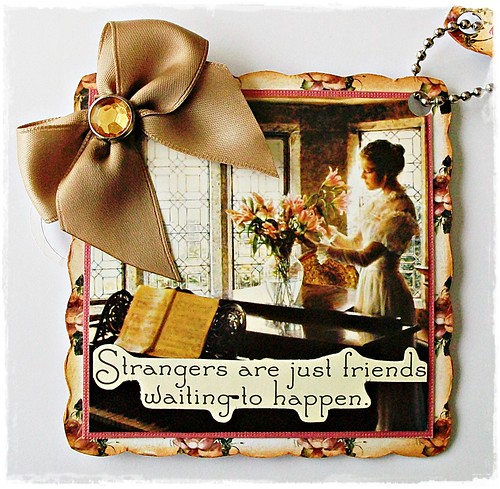
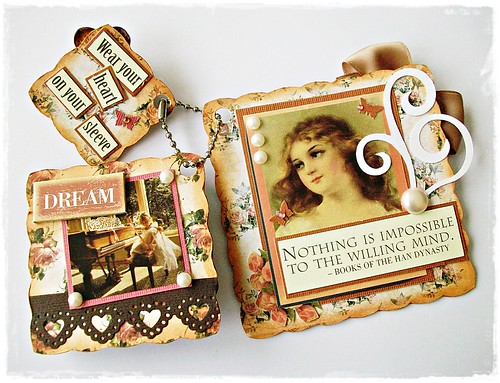
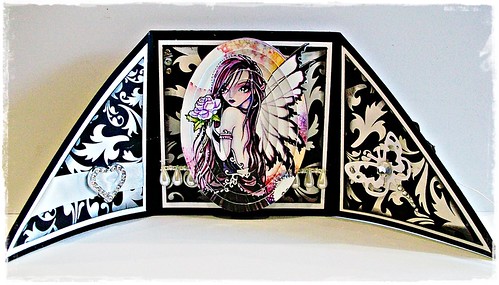
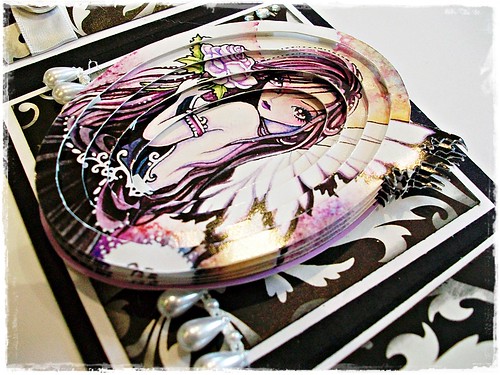
Hello everyone, I wanted to share another way of using your plastic shapes from the Diamond Fold Template.  This is the 3 sizes of fancy edge squares, cut into card and made into a simple but effective Tag book or Mini album.


Materials 
Template Diamond Fold Template£ 6.99 from Eureka craft designs 


Friday, 3 June 2011

Wrap around Card


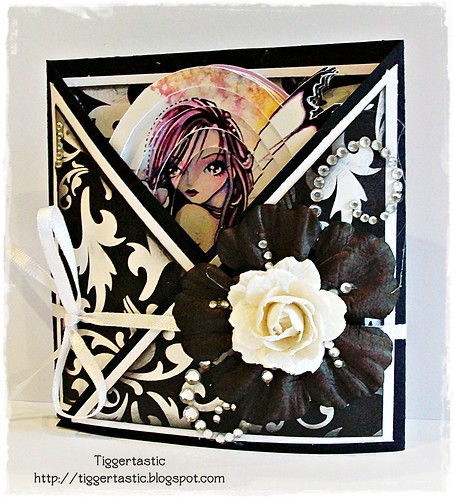
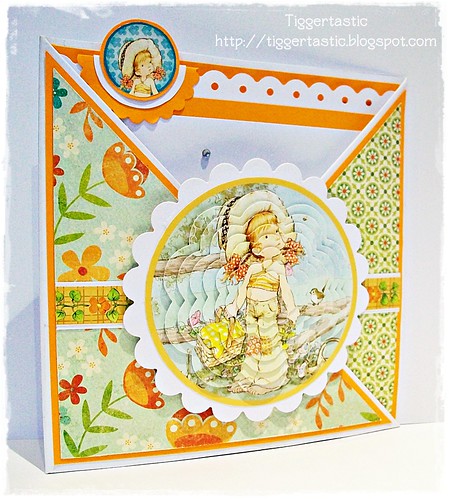
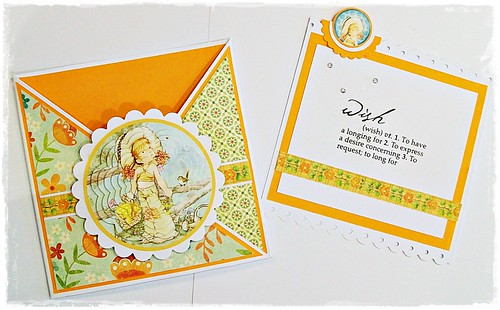
Today i want to share a Wrap around Card. 

These type of cards are perfect if you are using a 3D Decoupage image as it does not squash your picture but provide a elegant and new way of showcasing your focal image.

All you need to do is use your Envelope card template and cut of the flaps you don’t want, then bend / cure the 2 sides so they are rounded. In order to close the flaps just use ribbon as a tie to the side or front.


Monday, 30 May 2011

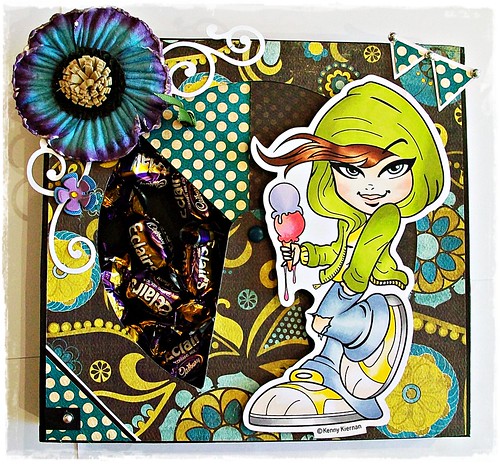
Diamond Fold - Male Sweet Card


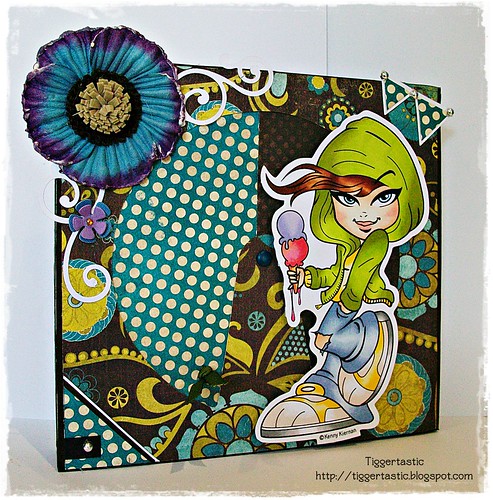
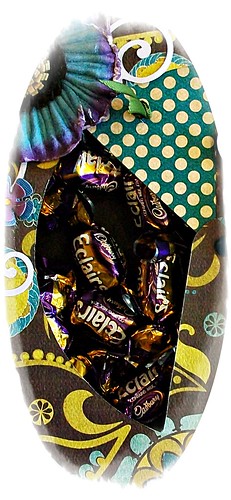
Mens cards are always hard to make so i wanted to make something that isn't to do with a hobby but a general male theme card that could work in many different ways, you can use there fav sweets or.............  you could even put £1 coins in for each year of there birthday.  

I hope i have given you some ideas on different cards and how to get another style card out of the diamond fold template. 

Template Diamond Fold Template£ 6.99 from Eureka craft designs (Tel +44 118 9345666 )


Created by Sarah-Louise (Tiggertastic)

Sunday, 29 May 2011

SWEET BOX - REVOLVE TEMPLATE


REVOLVE TEMPLATE

An exciting template to make your cards extra special.  The template is simple to use and comes with photographs and full written instructions.
£6.99


Thursday, 19 May 2011

Card made using the Pop Up Slider Template

The card below was made using the Pop Up Slider Template. 
Stamps used were by Michele Marsden. 
  • The flower was stamped with black memento ink and then coloured with pro-markers and cut out. 
  • A piece of cream card was stamped at the side.
  • The flower was stuck down onto the cream card using pinflair gel in order for the flower not to lay flat.
  • The butterfly placed at the top of the card was stamped and coloured with pro-markers and stuck down using pinflair gel.
  • Mirror board was placed behind the cream card and a ribbon design by Nellie's multi frames was cut out of a piece of mirror board and added to the side. 
  • This was then layered up onto a piece of purple and cream card and stuck down onto the mechanism for the pop up.  The mechanism was cut out using mirror board and stuck down onto a plain cream card which has been stamped and embossed with clear embossing power and then colourred using dusty concord distress ink.
  • When the topper has been pulled to stand up, the aperture was then cut out. 
  • A piece of light cream card was used for the inside.  Where the apperture is showing a light pencil line was drawn around onto the insert.
  • With love and the decorative corner was then stamped onto the insert where the pencil lines were.  Once the ink has dried rub out the pencil lines and then using double sided tape on the front of the insert stick to the inside of the card. 
  • Sakura stardust pens and ribbon were used to embellish the card.


Monday, 25 April 2011

Happy Easter

Firstly Happy Easter!  The Easter weekend could not have been better with the weather being perfect for our few days off.  I hope you have enjoyed yourselves.

It has been a while since I last wrote on the blog but now have some interesting information for you to absorb.

We are excited to have launched two new templates and they have proved to be a great success.  Now lets tell you a bit about them.

STATIONERY TEMPLATE


This template makes a perfect gift for a birthday or Christmas present.  It has been designed to be long lasting as it is made from stong book binding boards.  The first set of boards are included with your templates which makes the side panels for the inside.  Further boards can be purchased.  The pack includes boards for two projects and only costs £2.99.  The stationery to go inside is for you imagination to go wild.  It can be simply or to match the papers on the outside or an opportunity to use your rubber stamps to make notelets, note paper or birthday cards for the year to give to people.

Full photographic and written instructions.

£8.99


We have had made the box with a clear lid to present your finished piece of work and turn it into a perfect present.

£3.99

CROSS TEMPLATE


We have been asked on serveral occasions to design a cross.  So here it is.  We have designed it so it is not just a cross. The cross can be layered several times, instructions to make a pop out and also an arch way for making stain glass window effects, arch ways, doors and much more.  Full photographic and written instructins are given for you to make many card for all sorts of occasions.  Perfect to use with a scrapbook page. 

£8.99

Waitrose Workshop Day


Stephanie with her finished stationery box

 Alex giving tips and advice on how to put the inside together.  I was taking the photographs.


We have recently been invited to carry out craft events for the craft group at Waitrose.  This time we used the Stationery Set template.  They made the main part of the box, note paper, cards and envelopes to match using rubber stamps, Pro-markers and Sakura pens to finish their designs and to add detail to the front of the box if they wanted to.  The main part of the box was decorated using   Bo Bunny 12 x 12 papers, mirror board and pearlescent card with a hint of gold.  The cards for the inside we also used the pearlescent card.  Ribbon was used to close the finished stationery box.         

A good selection of rubber stamps were laid out for them to use which mean't everyones finished box was different. Some of the ladies were unable to make it on the day so we therefore will be holding another workshop day but this time to be held in the shop on Sunday 5th June.  If you are interested, please give me a call on 01189345666 to see if there are some places still available.

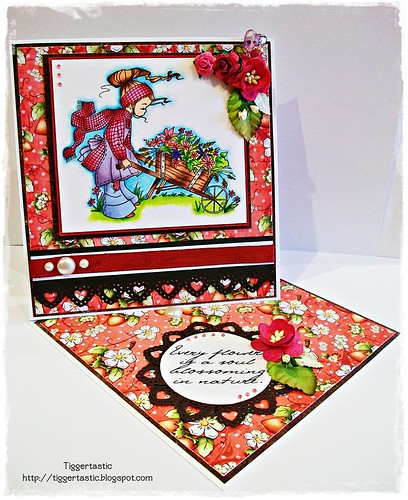
Thursday, 7 April 2011

This card was made by Sarah Louise from Tiggertastic.
Sarah used the Diamond Fold Template.


Card using the Magic Template


Nicola from our design team has made this lovely get well card using the Magic Template. 
A card which will defiantly cheer anybody up.

Wednesday, 6 April 2011

My Daughters Birthday Card

A perfect way to send a card and a gift at the same time.


The above card was made using our 'Pop Up Slider' Template

I used an 8" x 8" scalloped edge card and stamped the edges with flourishes and added the odd black pearl to the corners.  The flowers were originally plain so I used a red pro-marker to change the colour and then added a button with a very small bow to go into the middle.  Before I stuck the box on I stuck down a piece of ribbon and then placed a bow on the top.

The box was decorated using 'Wild Rose Studio' Stamp and coloured in using pro-markers.  This image was stuck onto a topper cut from the cuttlebug.  I folded and placed inside some tissue paper and then placed some earrings inside for her.